Setting up Development Environment
You can develop with Xamarin.iOS from Windows or a Mac.
You need access to a Mac from Windows
Although you can develop iOS applications from Windows, you will need access to a Mac running XCode to build the application.
Install on a Mac
To create iOS app you will need:
- XCode
- Xamarin.iOS
Installing XCode
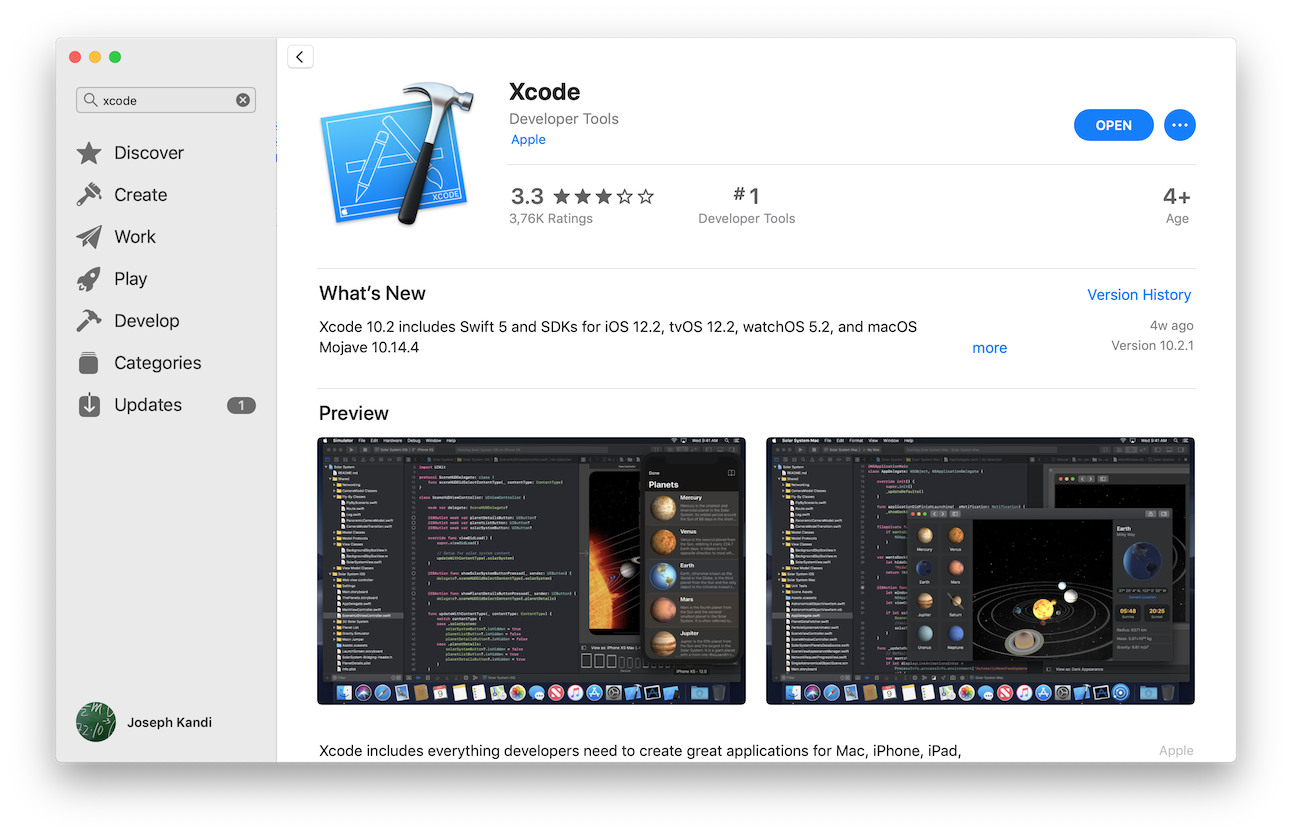
XCode can be installed from the Mac App Store. Search for XCode, install the latest one.

Install Visual Studio
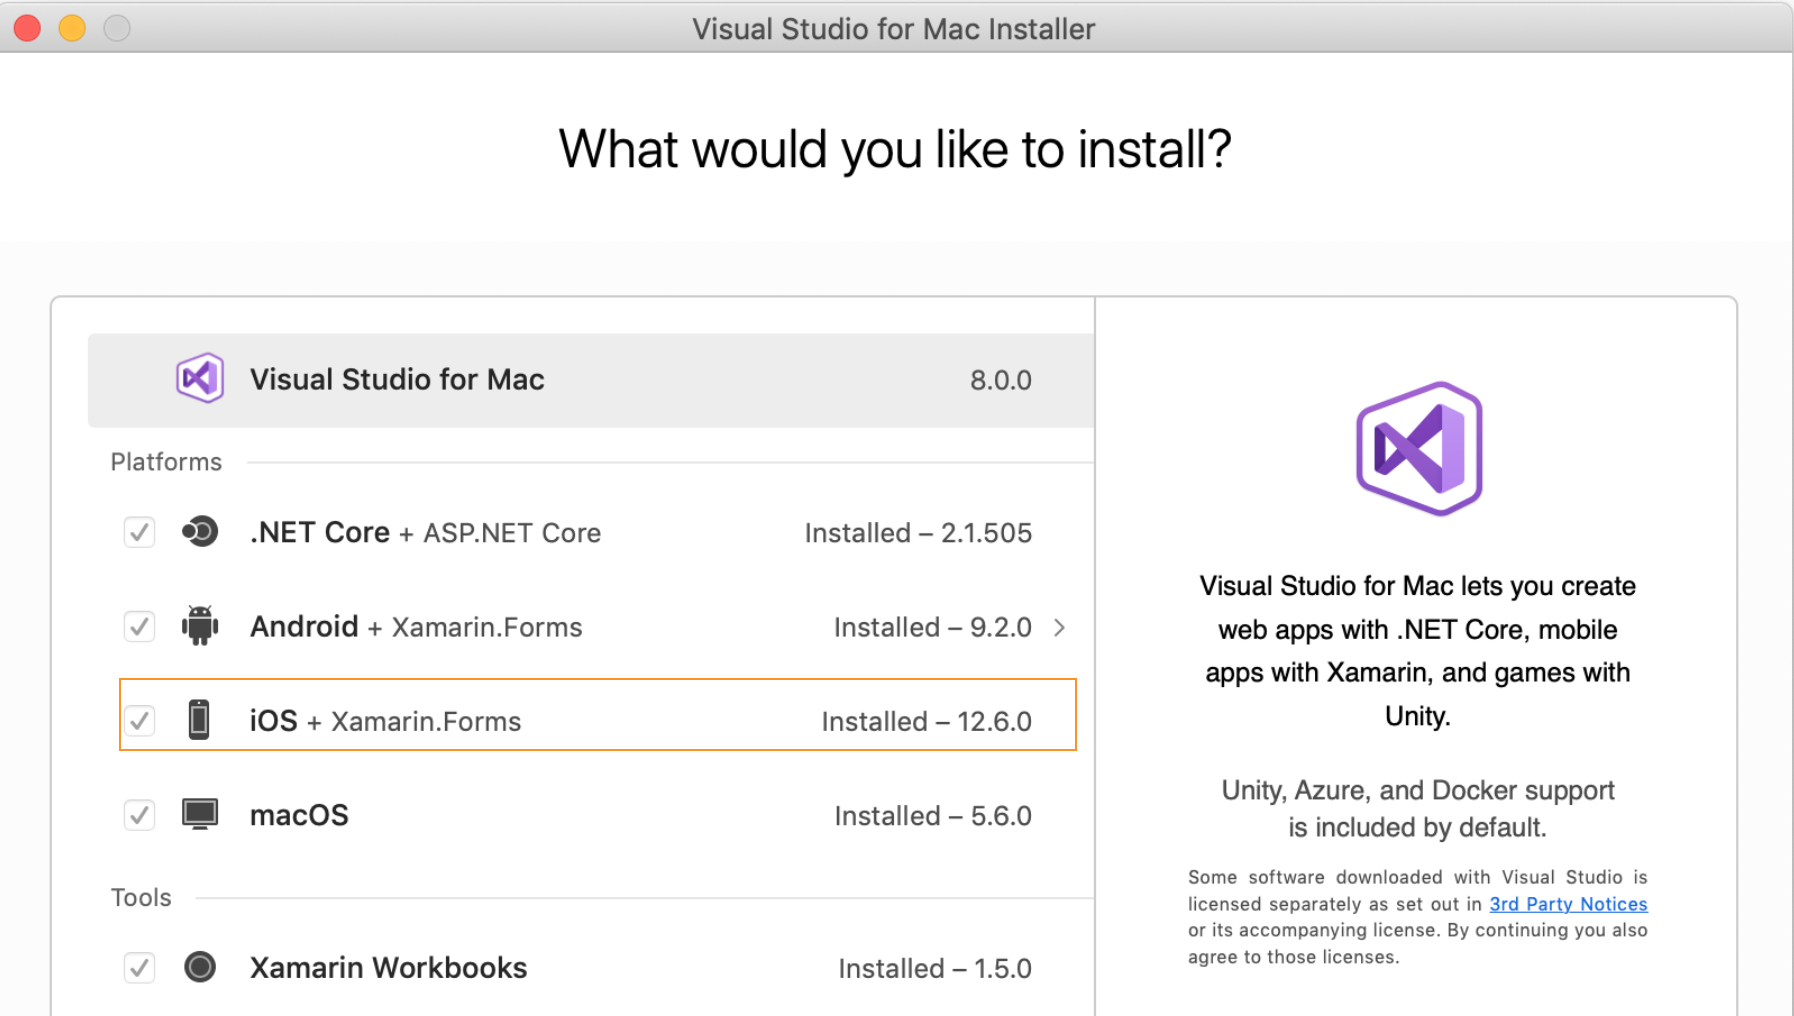
You will need to setup Xamarin.iOS during the Visual Studio installation. Download Visual Studio and run the setup, make sure to select Xamarin.iOS during the setup.

For a step by step installation check out the Microsoft documentation.
Install on Windows
There's nothing to install on Windows as you will access everything from the Mac. Visual Studio will make a connection to a Mac through SSH, you can use a mac machine on the local network or use a remote one e.g Mac In Cloud.
Pair Windows to Mac
You will need to pair your Windows machine to a Mac.
- Enable remote connection on the Mac
- Connect to the Mac from Visual Studio
Enable remote connection
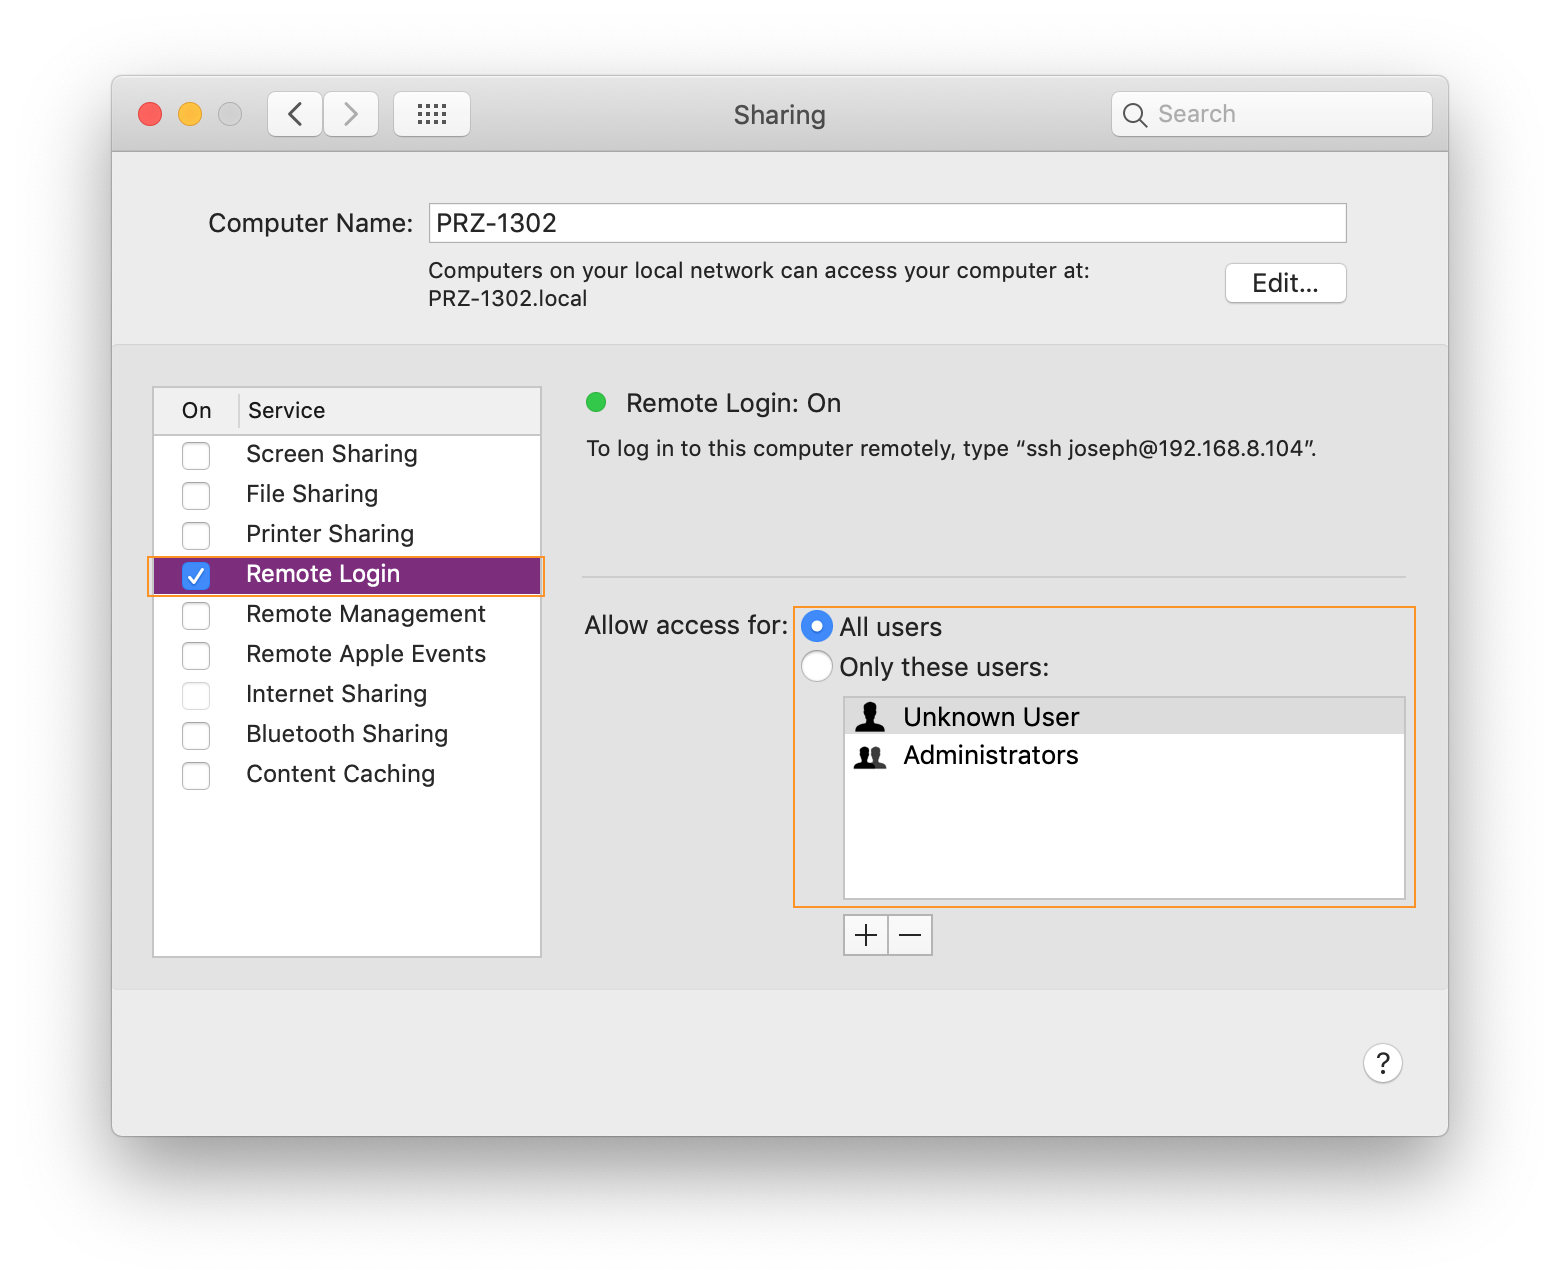
To set up the Mac build host, first enable remote login:
- On the Mac, open System Preferences(Click the Apple logo at the top left corner) and go to the Sharing pane.
- Check Remote Login in the Service list.

Make sure that it is configured to allow access for All users, or that your Mac username or group is included in the list of allowed users.
Connect from Visual Studio
Now that remote login is enabled, connect Visual Studio 2019 to the Mac.
-
In Visual Studio 2019, open an existing iOS project or create a new one by choosing File > New > Project and then selecting an iOS project template.
-
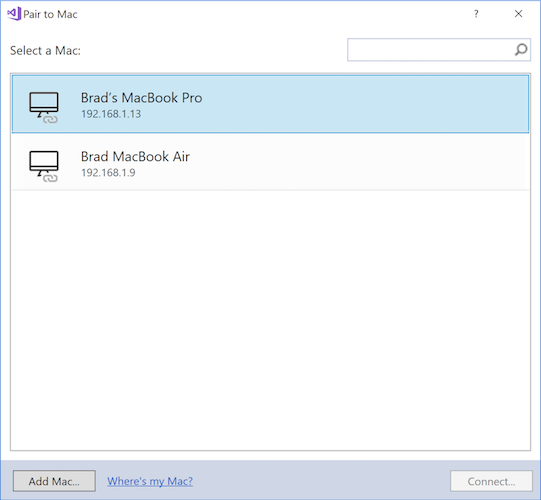
Open the Pair to Mac dialog.

The Pair to Mac dialog displays a list of all previously-connected and currently-available Mac build hosts:

Connect to the Mac and enter your username and password when prompted.
If you have successfully paired to a Mac build host, you are ready to build Xamarin.iOS apps in Visual Studio 2019.